Setup MetaMask and Add Network in 9 Easy Steps

SETUP METAMASK
Setup MetaMask on your laptop By Following step-by-step guide .

1.Setup MetaMask Extension:
- Open your web browser (such as Chrome, Firefox, or Brave) on your laptop.
- Go to the official MetaMask website or search for “MetaMask extension” in your browser’s extension store.
- Click on the “Add to Chrome” (or equivalent) button to install the MetaMask extension.
- Follow the prompts to add the extension to your browser.
2.Launch MetaMask:
- Once Setup Metamask is Done, you should see the MetaMask fox icon in your browser’s toolbar. Click on it to launch MetaMask.
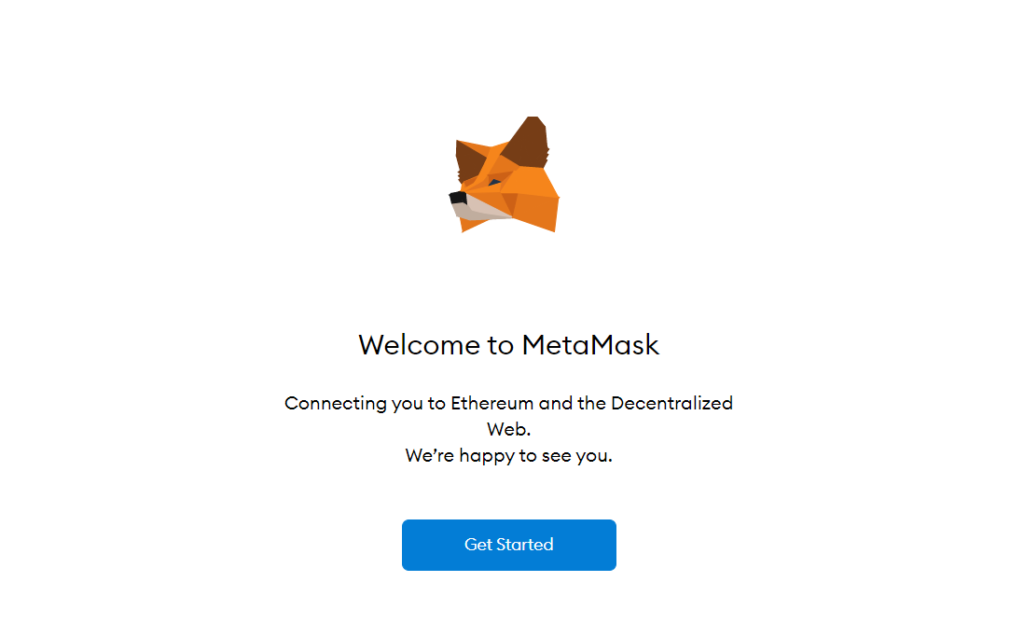
3.Create a New Wallet:
- If you’re a new user, you’ll be prompted to create a new wallet. Click on the “Get Started” button.
- Read and accept the Terms of Service and Privacy Policy.
- Choose a strong password for your MetaMask wallet. Confirm the password and click “Create.”
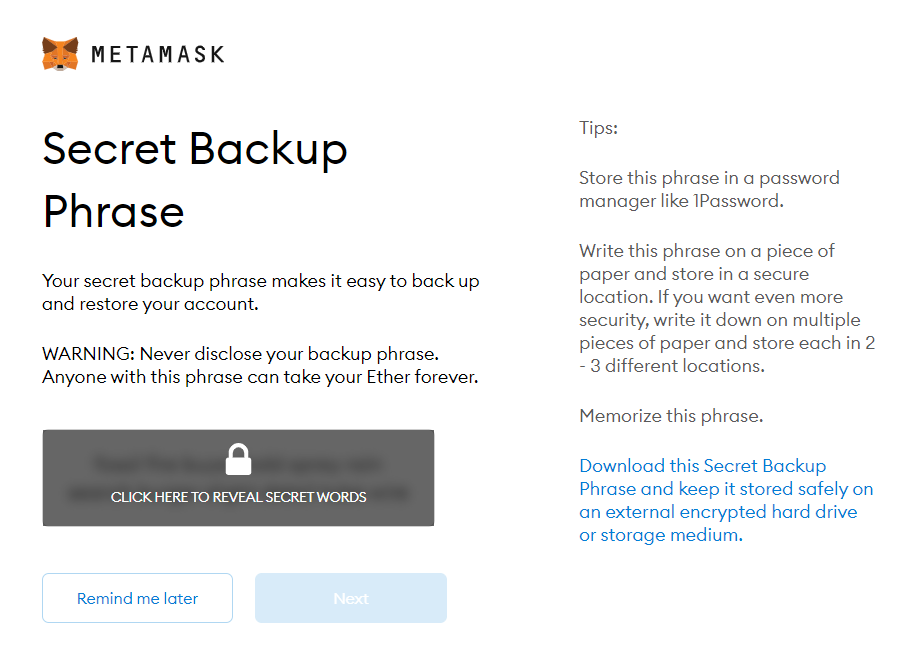
4.Backup Your Seed Phrase:
- MetaMask will generate a unique 12-word seed phrase. This is crucial for restoring your wallet if you ever lose access to your device.
- Write down the seed phrase in the exact order provided and keep it in a safe place. Do not share it with anyone.
- After noting down the seed phrase, click on “Next.”
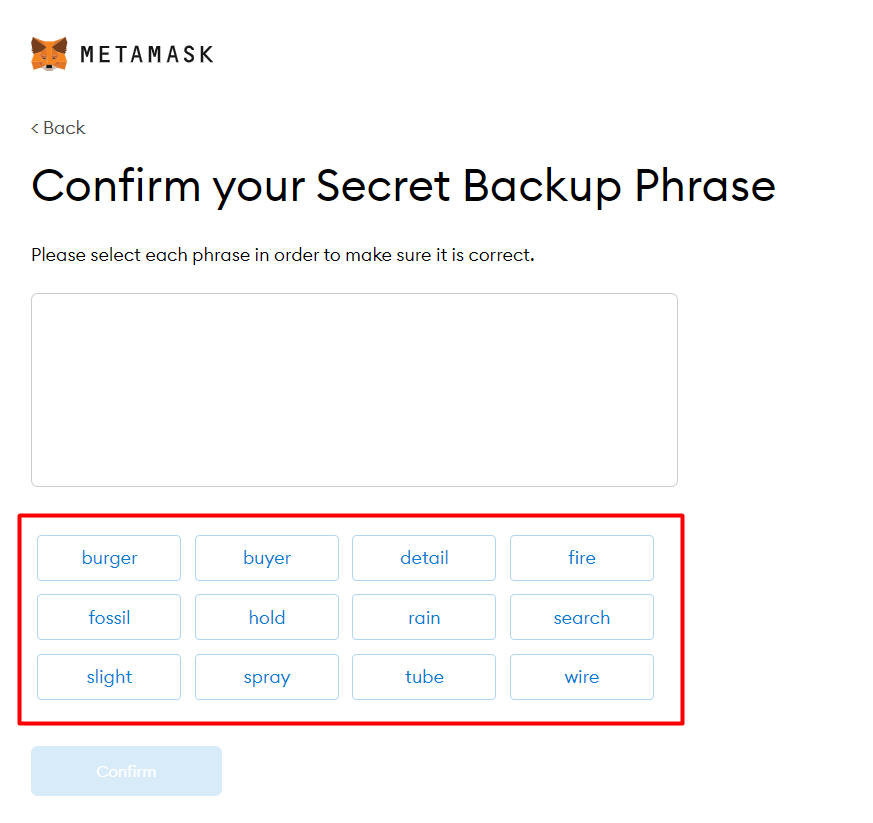
5.Confirm Your Seed Phrase:
- MetaMask will ask you to confirm your seed phrase by selecting the words in the correct order.
- Once done, click on “Confirm.”
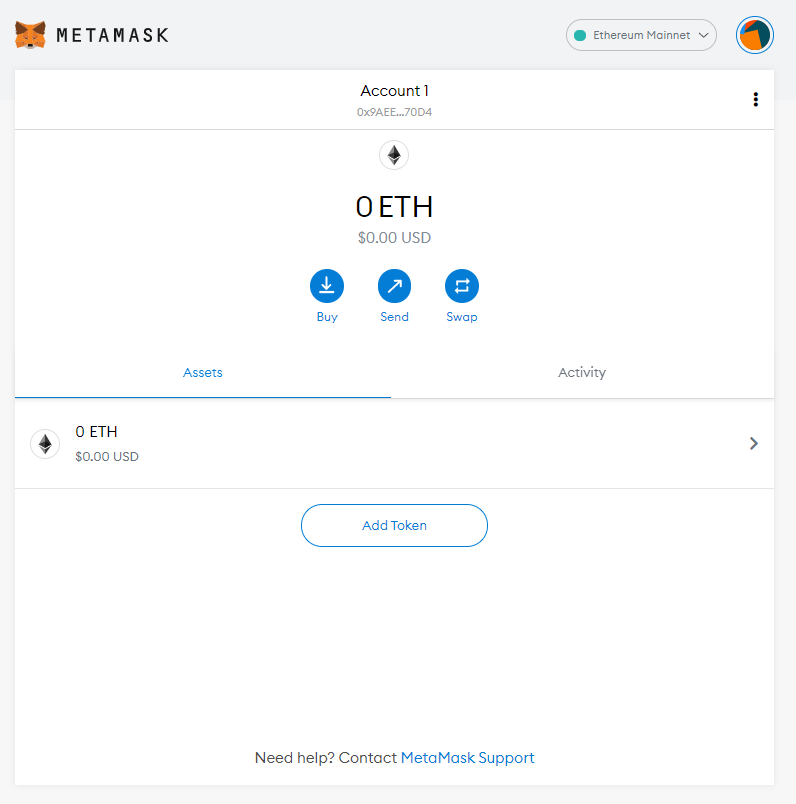
6.Wallet Created:
- Congratulations! Your MetaMask wallet is now created.
- You can now explore your wallet’s features, such as sending and receiving cryptocurrencies, connecting to decentralized applications (DApps), and managing your assets.
7.Optional: Add Funds:
- To add cryptocurrency funds to your MetaMask wallet, click on the “Buy” button within MetaMask to connect to a supported exchange or use the “Deposit” feature to send funds from another wallet or exchange.
8.Explore Settings:
- Take some time to explore MetaMask’s settings and features. You can customize your wallet preferences, view transaction history, add tokens, and more.
9.Connect to DApps:
- To interact with decentralized applications (DApps) using MetaMask, simply navigate to a supported DApp website and connect your MetaMask wallet when prompted. You can then authorize transactions directly from your wallet.
That’s it! You’ve successfully setup MetaMask on your laptop and are ready to explore the world of decentralized finance and blockchain applications. Remember to keep your seed phrase safe and never share it with anyone.
Adding a custom network to MetaMask allows you to connect to blockchains or networks that are not natively supported by the wallet. Here’s how you can add a network to MetaMask after finishing setup Metamask
- Open MetaMask:
- Launch the MetaMask extension in your web browser on your laptop by clicking on the MetaMask fox icon in the browser’s toolbar.
- Access Settings:
- Once MetaMask is open, click on your account avatar icon located at the top right corner of the MetaMask window.
- Select Settings:
- In the dropdown menu, click on “Settings.” This will take you to the MetaMask settings page.
- Navigate to Networks:
- In the MetaMask settings, locate and click on the “Networks” tab. Here, you’ll see a list of supported networks and options to add custom networks.
- Add Custom Network:
- Scroll down to the bottom of the Networks page and click on the “Add Network” button.
- Enter Network Details:
- You will be prompted to enter the details of the custom network you want to add.
- Network Name: Enter the name of the network (e.g., Binance Smart Chain).
- New RPC URL: Input the RPC (Remote Procedure Call) URL of the network you want to add. You can usually find this information on the official website or documentation of the network.
- Chain ID: Enter the Chain ID associated with the network. This helps MetaMask identify the network.
- Symbol: Input the symbol or abbreviation of the native currency of the network (e.g., BNB for Binance Smart Chain).
- Block Explorer URL: Optionally, you can enter the URL of a block explorer for the network to view transaction history and network information.
- You will be prompted to enter the details of the custom network you want to add.
- Save Network:
- After entering the required information, click on the “Save” button to add the custom network to MetaMask.
- Switch Networks:
- Once the custom network is added, you can switch between networks by clicking on the network dropdown menu located at the top of the MetaMask window. Select the custom network you added from the list.
That’s it! You’ve successfully added a custom network to MetaMask on your laptop. You can now interact with decentralized applications (DApps) and perform transactions on the newly added network directly from MetaMask. You can also follow this link for setup Video


Post Comment